Part 2: Setup a SPA reactjs frontend with hot reloading for development
Previously, in part 1 we went through building a very effective development environment using docker and achieved:
- Created a dockerized development environment.
- Created a RESTful microservice using Symfony
What we are going to tackle next, is to build a SPA using ReactJS and connect it to the back-end API to display a mocked server health-check status.
Project Recall
Let’s first quickly, recall our monitoring-app project, the project folder structure is as follows:
monitoring-app/
├── api
│   ├── bin
│   ├── composer.json
│   ├── composer.lock
│   ├── config
│   ├── public
│   ├── src
│   ├── symfony.lock
│   ├── var
│   └── vendor
├── docker
│   ├── nginx
│   └── php
└── docker-compose.yml
Where the api folder contains the Symfony RESTful api and the docker folder contains the docker images needed for the project.
Getting started
Let’s start by creating a ReactJS app.
$ npx create-react-app ui
This, as the reactjs documentation mentions, creates the bare minimum for a reactjs app, which what we only need for our current tutorial.
Setting the docker-compose service
In order to have this containerized like the backend api, we need to add the below snippet to our docker-compose.yml file under the services: section.
    ui:
      build: ./ui
      restart: on-failure
      # below line starts the project
      command: "npm start"
      depends_on:
        - api
      networks:
        - monitoring
      volumes:
        # this will mount the ui folder which contains the code to the docker container
        - ${PWD}/ui:/var/www/ui:delegated
        # this will mount the node_modules folder for faster performance
        - nodemodules:/var/www/ui/node_modules
      ports:
      - "3000:3000"
Another part that is necessary to optimize performance and less disk I/O for the node_modules folder, we need to add a volumes section at the end of our docker-compose.yml.
# volumes
volumes:
  nodemodules: {}
In the above snippet, it uses a Dockerfile image inside the ui folder, which builds and runs a node container and install all the dependencies inside.
Node Dockerfile
This would be placed in ui/Dockerfile
NOTE The below Dockerfile is intended for development purposes only and is not production ready.
FROM node:16-alpine3.11

# this is a development Dockerfile
# and is not intended for production use
WORKDIR /var/www/ui

COPY package.json /var/www/ui/
COPY yarn.lock /var/www/ui/
RUN yarn install

COPY . /var/www/ui

# this what make hot reloading works
# because you are starting your project
# in the same way you running it locally
RUN yarn run build
CMD yarn start
Starting up the containers
Now, that you have everything setup, you can now start the containers. you can do that by:
$ docker-compose up --build
It will take some time to build, but you can monitor the progress in your Docker desktop dashboard or your cli.

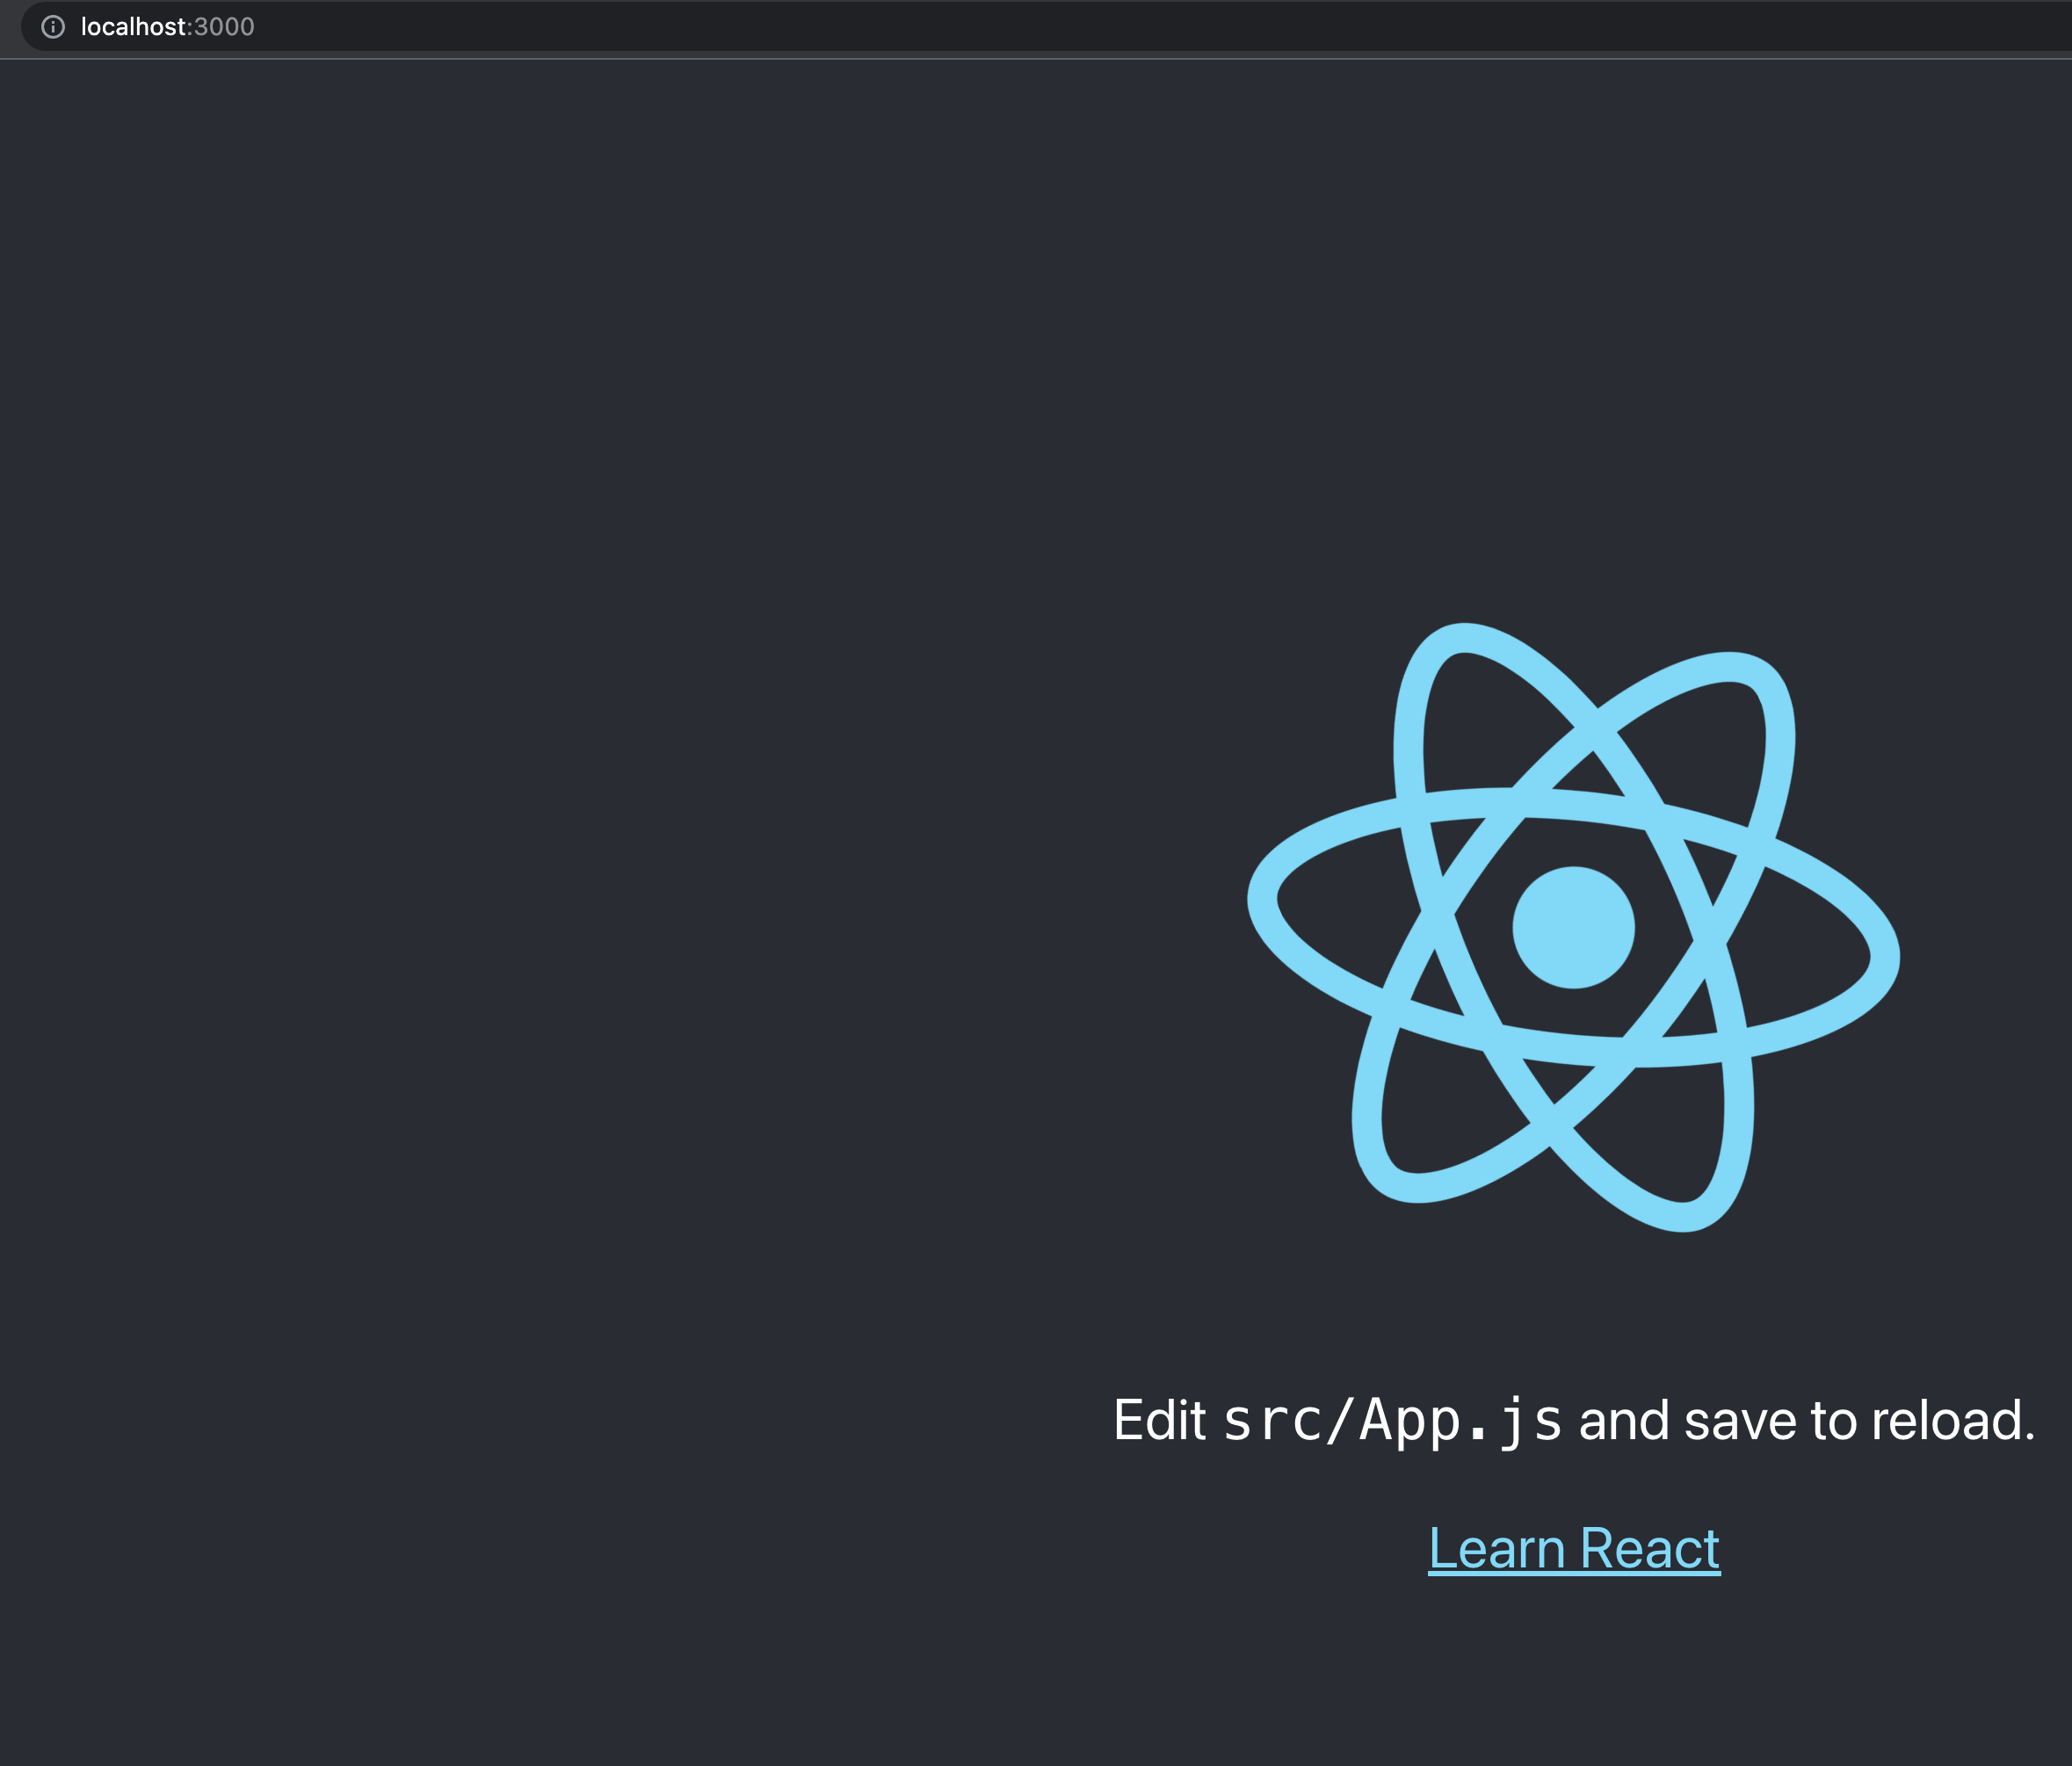
But eventually you will be able to test it by going to http://localhost:3000/, you will see the famous ReactJS start page.

Let’s display the server health check
Now, we have all the containers up and running, we need to connect them, because currently they are not connected and we want to make the ReactJs app make an API call request to pull the server status and display it.
Make api request
In your ui/src/App.js, modify it to be a class component so that we can make an API call from inside the component.
So, let’s modify it to look as below
import './App.css';
import React, { Component } from 'react';

class App extends Component {
    constructor(props) {
        super(props);
        this.state = {healthCheck: "Don't know"}; // initial status
    }

    componentDidMount() {
        // construct the url of the API call
        const url = `${process.env.REACT_APP_API_URL}/healthCheck`;
        fetch(url)
        .then(res => res.json())
        .then(
            (result) => {
                this.setState({
                    healthCheck: result.status
                });
            }
        )
    }

    render() {
        // get the status from the state
        const healthCheck = this.state.healthCheck;

        return (
          <div className="App">
            <header className="App-header">
              Server HealthCheck status: {healthCheck}
            </header>
          </div>
        );
    }
}

export default App;
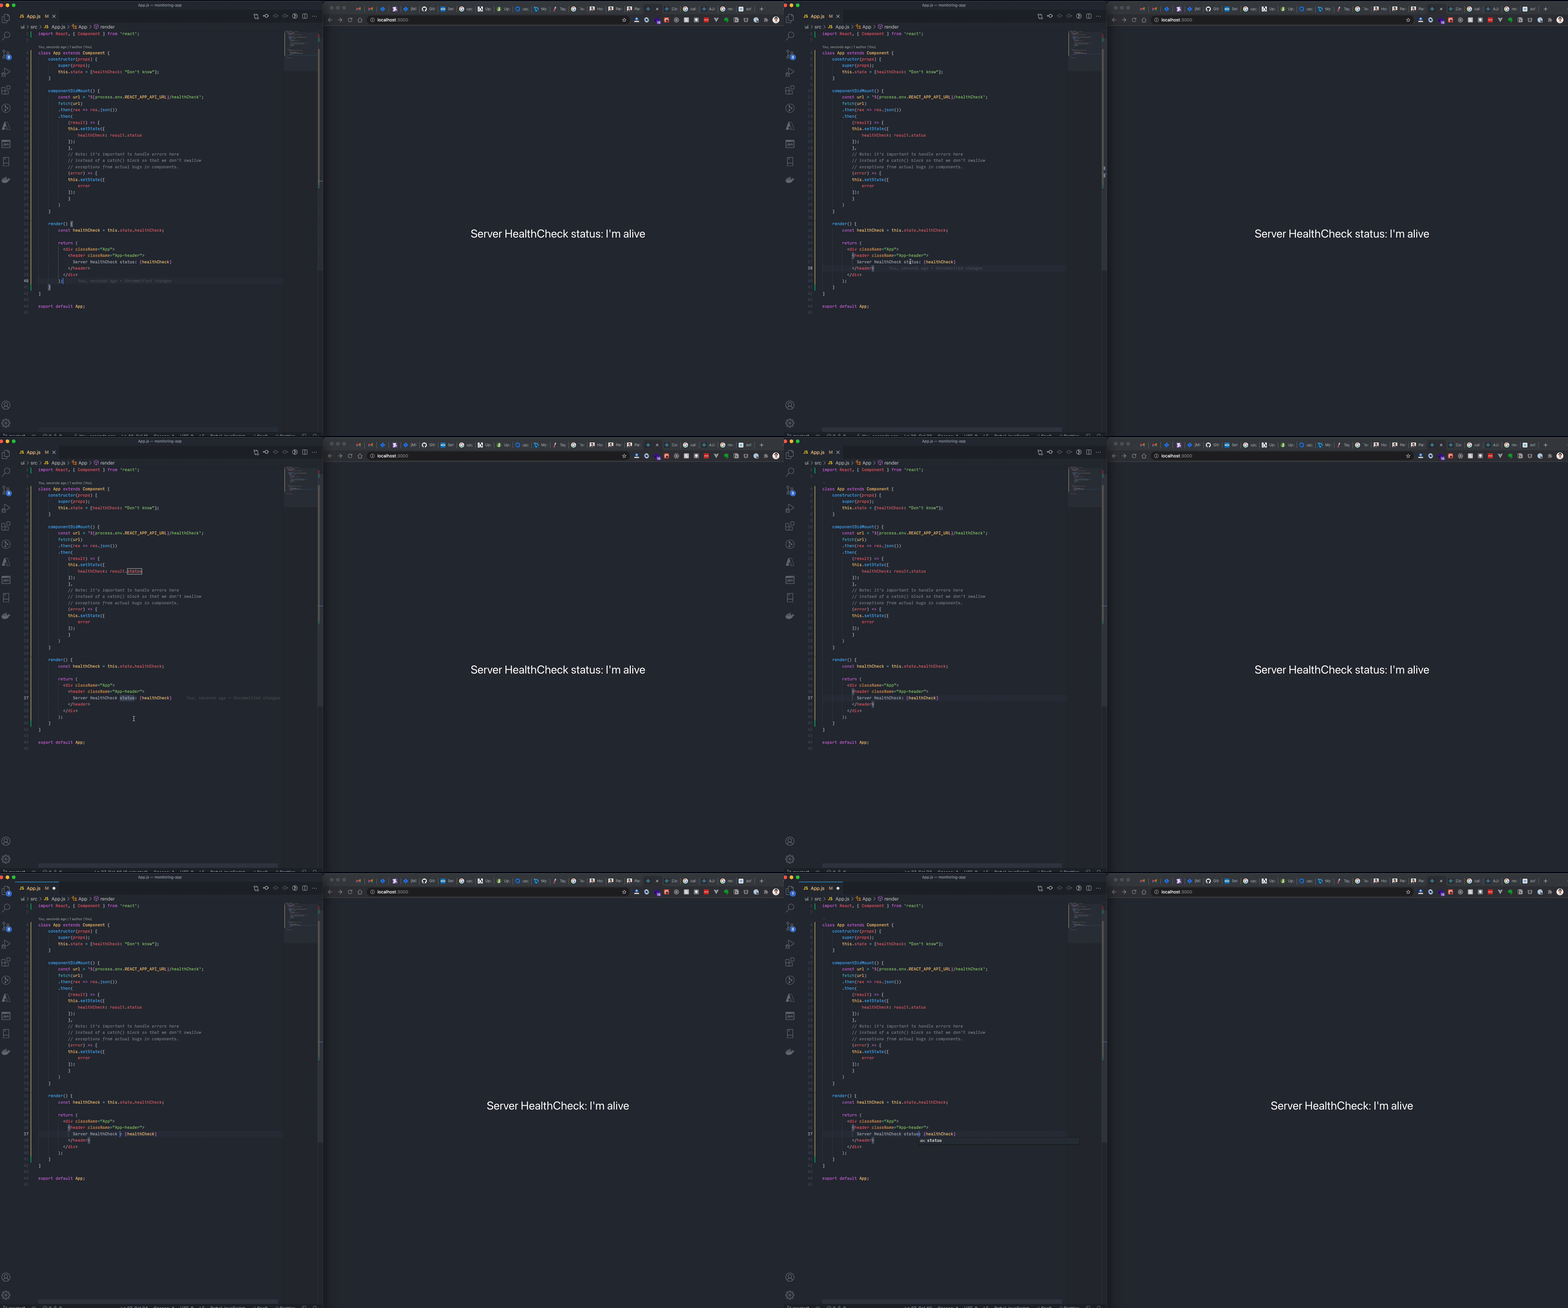
If you go to http://localhost:3000 you will immediately see the changes you made reflected.
But this doesn’t prove hot reloading, so let me demonstrate it in a different way

Wrapping up
Now, we came to the end of our part 2 we have everything complete to have a full stack development environment, with hot reloading enabled for our ReactJS SPA.
So, what have we accomplished in this two parts tutorial:
- Created a very optimized docker development environment.
- Created a back-end RESTful API using Symfony and FOSRestBundle, to mock retrieving the server health.
- Created a SPA with ReactJS, and enabled hot reloading.
- Achieved faster painless on-boarding for new developers in product teams.
- Environment agnostic development environment setup.
- As a result of all this, we elevated the team from worrying about maintaining their development environment and enable more productivity on the team.
Finally
You can find this project setup we created through out the tutorial on github.
If you have any opinions, questions or shared experiences I would love to hear and discuss them.
